Create your first solver#
Info
If you haven’t created your first use case, go create it first because you’re going to need it in this step.
Let’s create an example solver to learn how to do it.
The process of creating a new solver involves these main steps:
- Choose the use case
- Register the solver in the platform
- Implement the solver using the solver template and store it in a Git repository
- Connect your repository to the platform
- Build the new solver code in the platform
- Run a job in the platform with your solver
1. Choose the use case#
For this tutorial we’re going the use the use case we created in the previous step, My first use case, so if you haven’t created it yet, go do it now.
2. Register the solver in the platform#
Let’s create an example solver to learn how to do it:
-
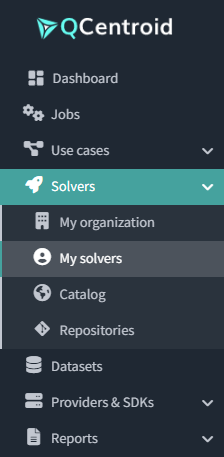
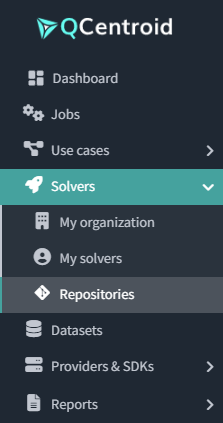
Go to the section Solvers > My solvers through the left side menu.
-
Then, on the top-right corner, click on the Add new solver button.

-
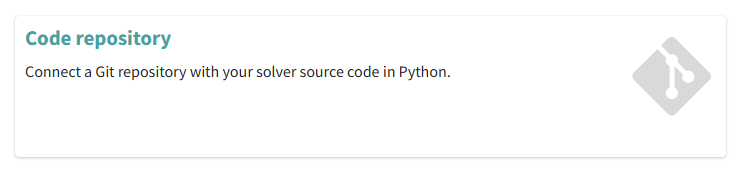
Click on Code repository because the solver code will be stored in a Git repository.
-
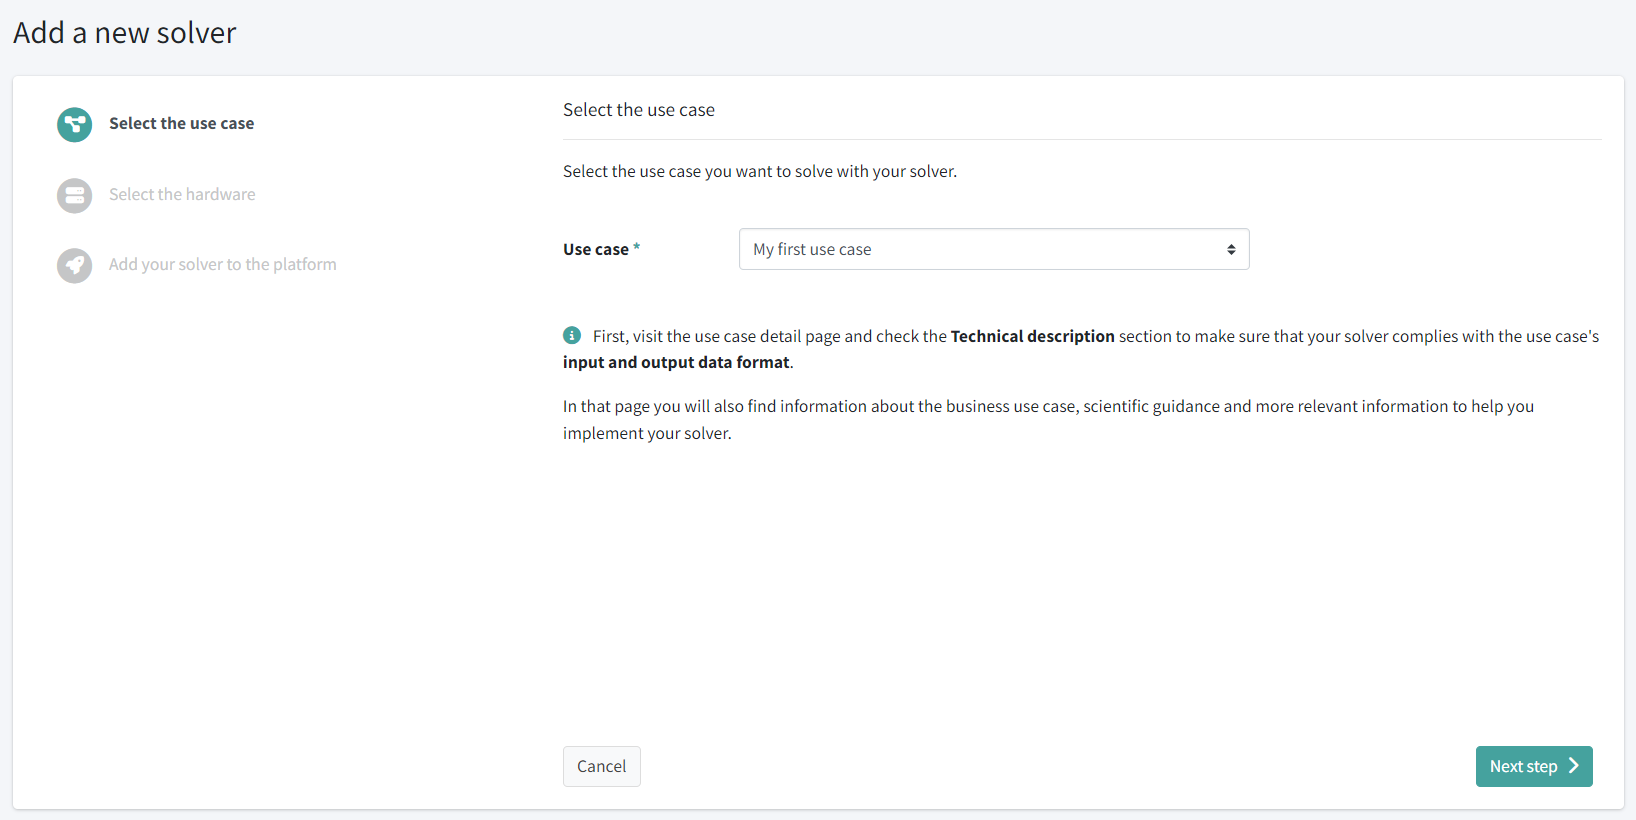
Follow the assistant: first, select the use case you are solving, in our case we will select My first use case, and click the Next step button:
-
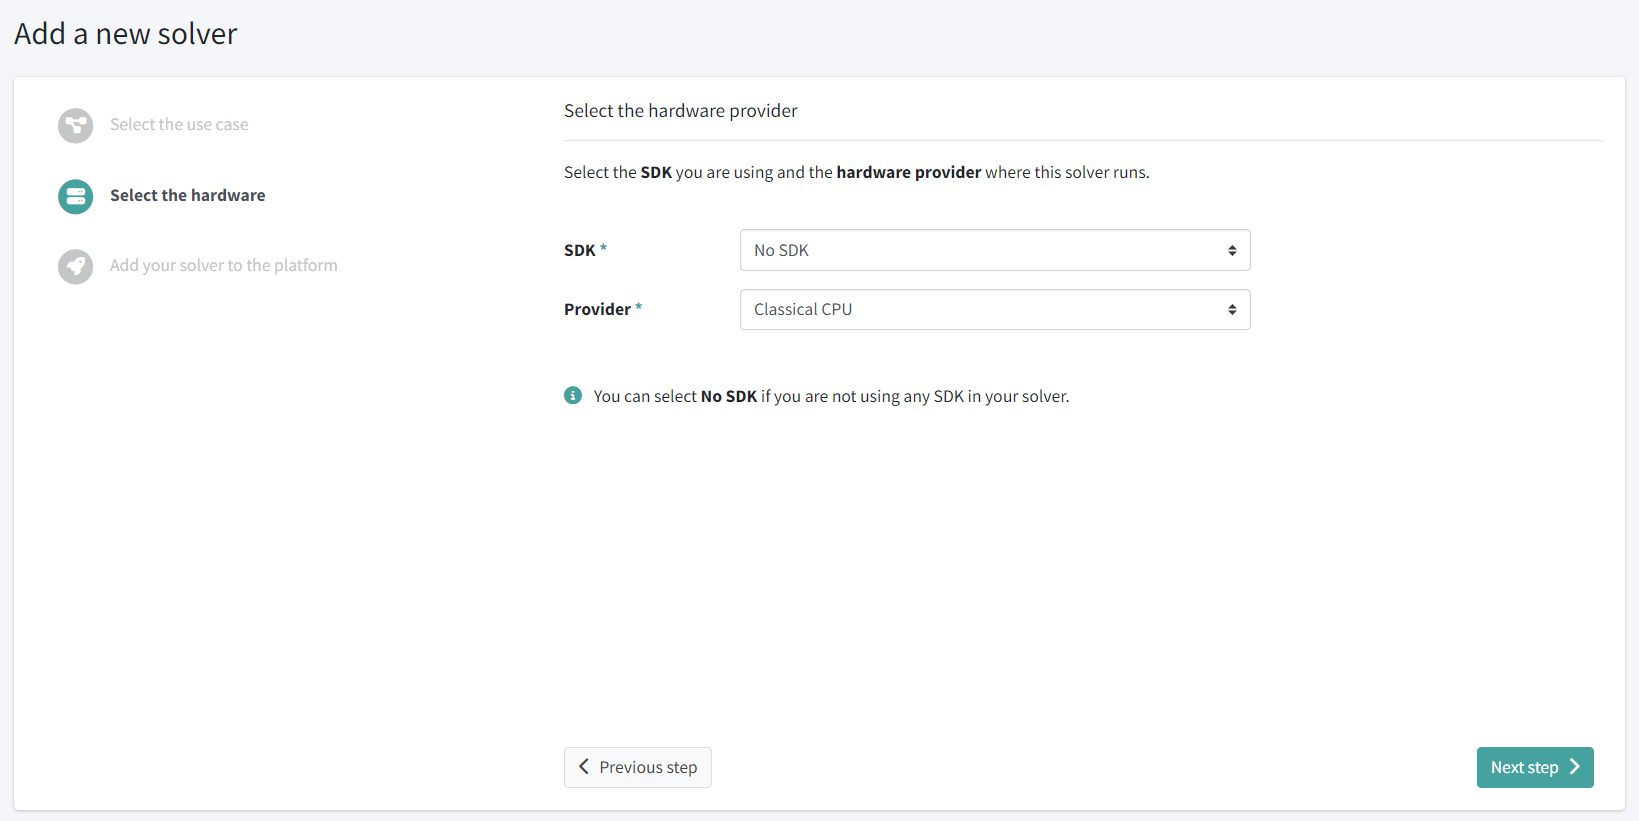
Now, select the hardware configuraion of our solver. In our case we will select:
- No SDK and
- Classical CPU as provider:
-
Lastly, fill the basic information about your solver:
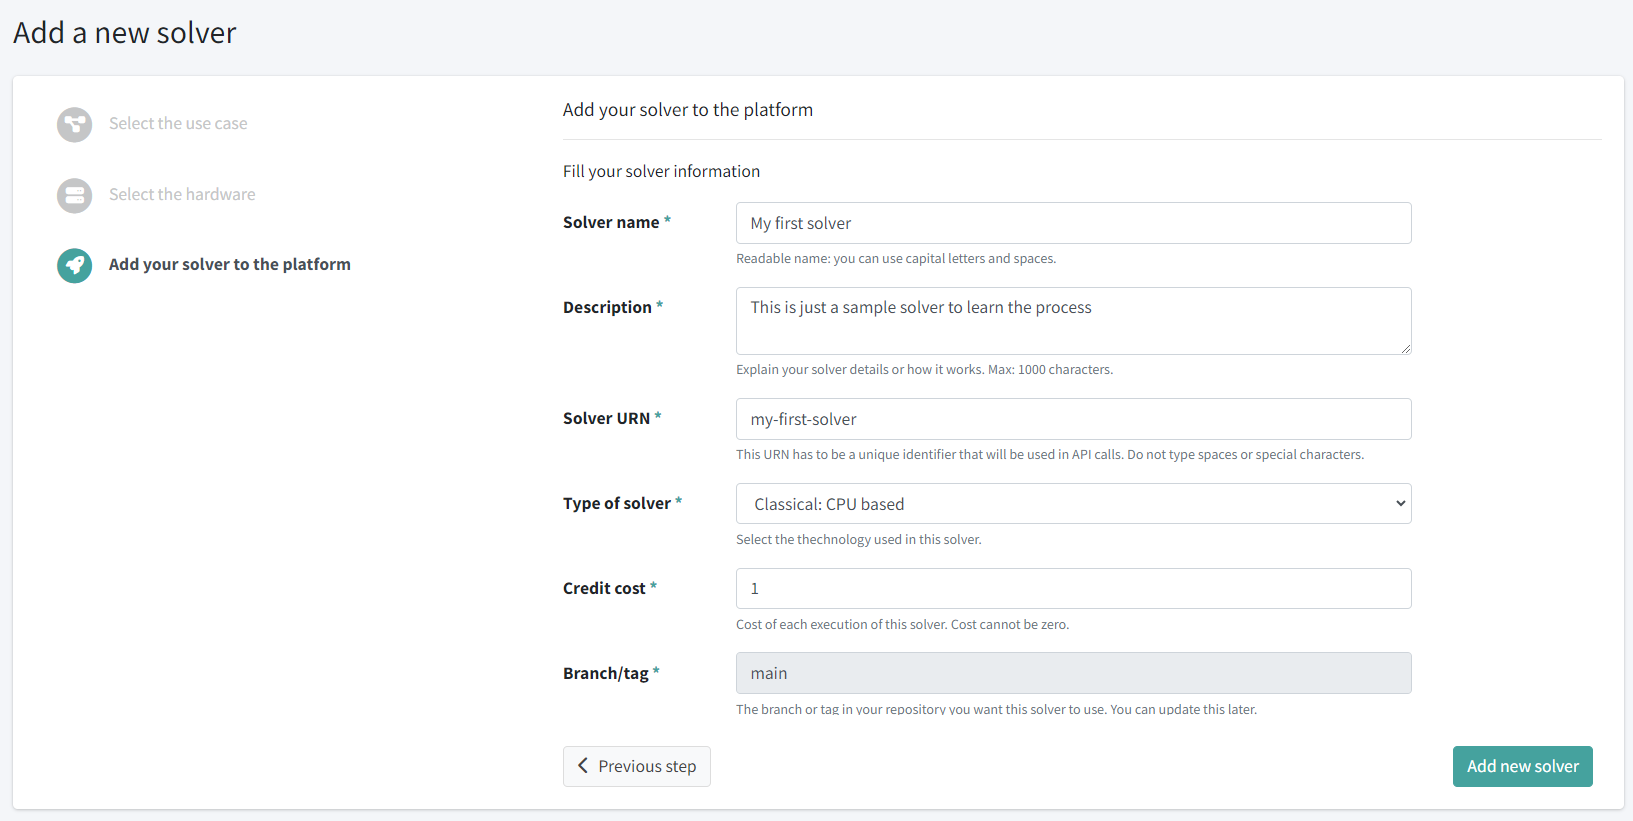
Fill in all the required information:
- Solver name: Let’s write “My first solver” here.
- Description: Write a short descriptive text about your solver: “Hello world solver for the Hello world use case used for learning purposes.”
- URN: This is a unique URL path to access your solver through the API. Write something like “my-first-solver”. Don’t use spaces or special characters that shouldn’t be present in URLs, such as these ones: “/”, “&”, “%”, “=”
- Type of solver: Select Classical: CPU based, as for this example we are going to create a classical solver that runs on any CPU.
- Estimated cost: This is the estimated excution cost in credits. Let’s set the cost to 0.02 credits.
- Branch/tag: This is the branch or tag you want to point in your repository. It is filled out as main by default.
- Programming language: Select Python.
-
Finally, click the Add new solver button.
After this step, you will be redirected to your solver details page, where you can go on with the next steps.
3. Implement the solver using the solver template and store it in a Git repository#
A simple algorithm (or solver) to run in the platform only requires these files:
- qcentroid.py The main entrypoint file
- requirements.txt Optional requirements file
File: qcentroid.py#
Create a file named qcentroid.py with this content:
#
# QCentroid entrypoint
#
# DO NOT change the name of this file.
# DO NOT edit the signature of the run() function.
#
# Import here any non-standard packages you need or your custom modules
#

def run(input_data:dict, solver_params:dict, extra_arguments:dict) -> dict:

    #
    # Add your solver's code here, or call it from here if it is already implemented in another module
    #

    output = {"message": "Hello world!"}

    # And this is the output it returns. It must be a dictionary.
    return output
As simple as this. The execution engine of the platform will look for this file and for this entrypoint function and will run it providing it with the input data and other optional parameters.
File: requirements.txt (optional)#
When your solver uses additional non-standard python libraries, you can add all these dependencies in this file following PiP format.
Example requierements file:
qiskit==0.17.0
For this tutorial you can skip this file.
Create a Git repository and push these changes#
Now, create a new Git repository and add the qcentroid.py file to the root folder.
4. Connect your repository to the platform#
Now that you have your solver source code tracked in a repository, you can connect this repository to the platform. This is needed to allow the platform to access the source code to run it.
Important
Make sure to follow all the steps in the process below, specially step 3.d, where you have to go to your Git server (GitHub, for example) and add the Deploy Key provided by the Platform.
To connect a repository to the platform:
-
Go to the section Solvers > Repositories through the left side menu
-
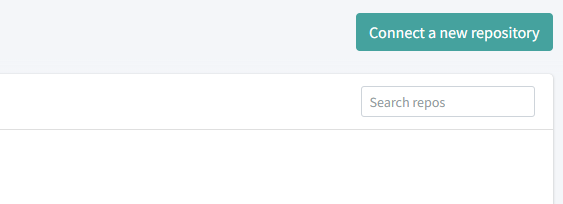
Then, on the top-right corner, click on the Connect a new repository button.
-
You will get the repository connection wizzard where you can do all the required steps:
- Select the solver My first solver.
- Fill the repository information: name and SSH URL (valid SSH URL in your git server).
- Generate an SSH key pair to ensure controlled and secure access to your code.
-
Add this key to your repository
- Go to your Git server
-
Go to the repository settings: Your repository > Settings

And then to Deploy keys

-
Add a new deploy key: Paste the generated key and write QCentroid Platform as title.
- Go back to the platform and click the Connect button at the end of the wizzard to complete the process.
At this moment, your repository is connected:
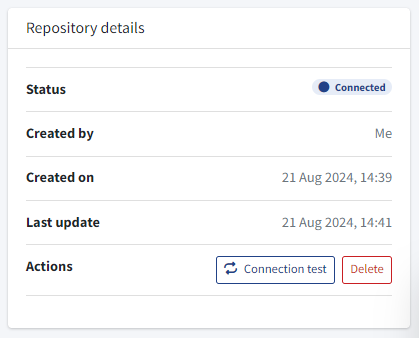
Also, the Build process of your solver has just started. This process gets the last version of your code and builds a solver to run it in jobs.
5. Pull & build the new solver code into the platform#
Every time you make changes to your solver, you will need to Rebuild it in the platform to get the latest version.
The first time you connect a solver this process is run automatically, and you can rebuild the solver again anytime you need it.
Go to your Repository details page, scroll down and click the Build button next to your solver.
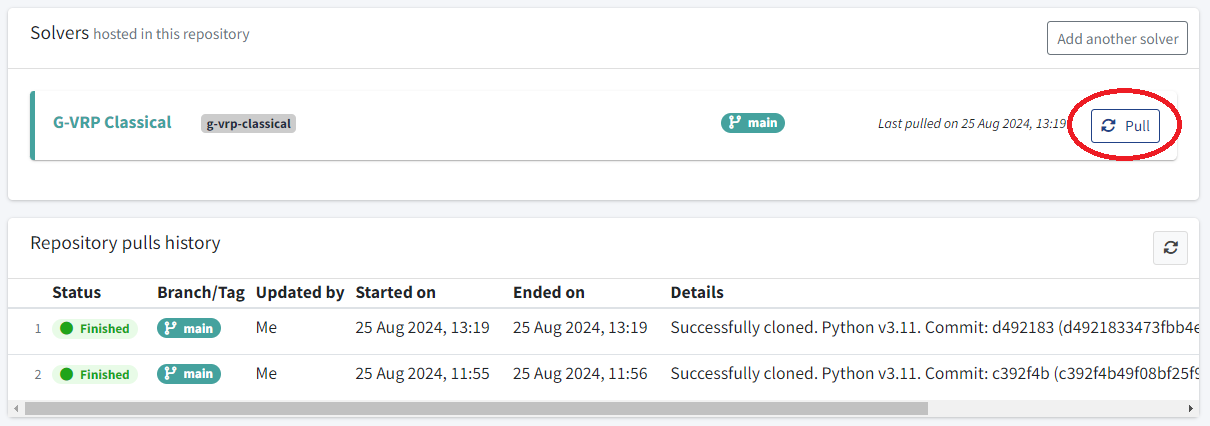
Below, you can check the builds history.
Just wait until this process is shown as Finished and make sure the commit pulled is the one that you just pushed to the Git server.
Now, your solver is ready to run jobs in the platform.
6. Run a job in the platform with your solver#
The last step will be to run the solver that you just created in the platform.
Click the link in the What’s next section below to go run your first job.
What you’ve learned#
Now you know how to add a solver to QCentroid Platform.
You also know that creating a solver takes six steps:
Choose the use case
Register the solver in the platform
Implement the solver using the solver template and store it in a Git repository
Connect your repository to the platform
Build the new solver code in the platform