How to set up quantum providers#
Introduction#
You can use multiple quantum providers for your solvers in the QCentroid Platform.
Some providers require a previous process before you can use the quantum hardware.
![]()
Fire Opal#
Overview#
Fire Opal is a Python package that provides a simple interface to apply complex quantum control techniques to quantum algorithms. When executing an algorithm on today’s generally available quantum hardware devices, you will notice that as circuits become more complex and require a greater number of qubits, the results of execution look increasingly similar to a randomized distribution. It’s often difficult to distinguish the ideal output from the noise.
This noise, inherently caused by environmental impacts on quantum processors, must be mitigated in order to get useful results from quantum algorithms. Fire Opal employs advanced error mitigation and noise suppression methods to optimize the circuit, hardware, and runtime, which drastically improves success probability.
Create your Q-CTRL account#
You will need to sign up for a Q-CTRL account to run this tutorial on quantum hardware resources.
Create a solver in QCentroid platform#
Creating a new solver using Fire Opal is very easy and takes just a few steps:
- Enable Fire Opal provider
- Register your solver in QCentroid
- Implement your solver using the Fire Opal SDK
- Connect your repository to QCentroid
- Run a job with Fire Opal
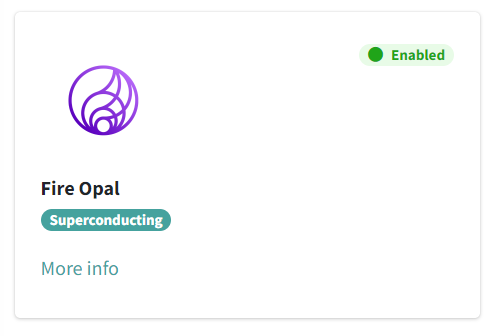
1. Enable Fire Opal provider#
First, you need to enable Fire Opal in QCentroid as provider in your organization.
To do this, go to the Providers section, browse providers to find Fire Opal and click the Enable button.
- When requested, add your Fire Opal authentication token
After this step, you will have Fire Opal provider enabled and ready to be used in your solvers.
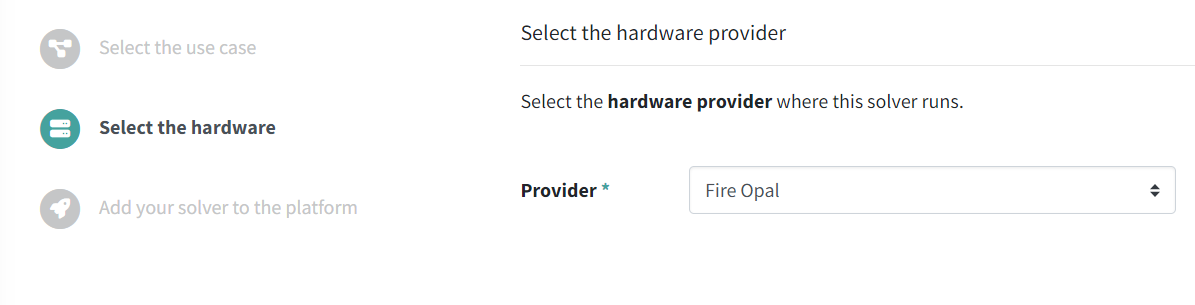
2. Register your solver in QCentroid#
Now, you can go to the Solvers section and create the solver in the platform.
-
Go to My solvers and click on the Add new solver button.
-
Select one of the existing Use Cases.
-
Select Fire Opal as harware provider for this solver.
-
Complete the process filling in the rest of information about your solver.
-
Finally, click the Add new solver button.
3. Implement your solver using the Fire Opal SDK#
Implement your solver using the provided template and the Fire Opal SDK.
- Visit the Fire Opal documentation for more guidance on the implementation.
And push your code to a Git repository.
4. Connect your repository to QCentroid#
When you have your solver code stored in a git repository, you can connect this repository to QCentroid.
-
Go to the Repositories section and click on the Connect a new repository button.
-
Select the solver you just created from the list to indicate it is stored in this repository.
-
Fill in the rest of details about your repository.
-
Finally, click the Connect repository button to finish the process.
When this process finishes, you wil have a solver registered in QCentroid, using Fire Opal and ready to be executed.
Run a job with Fire Opal#
Running a job in QCentroid using Fire Opal is very simple:
-
Go to the Jobs section
-
Click the Run job button
- Select the Use Case
- Select your solver that uses Fire Opal as provider
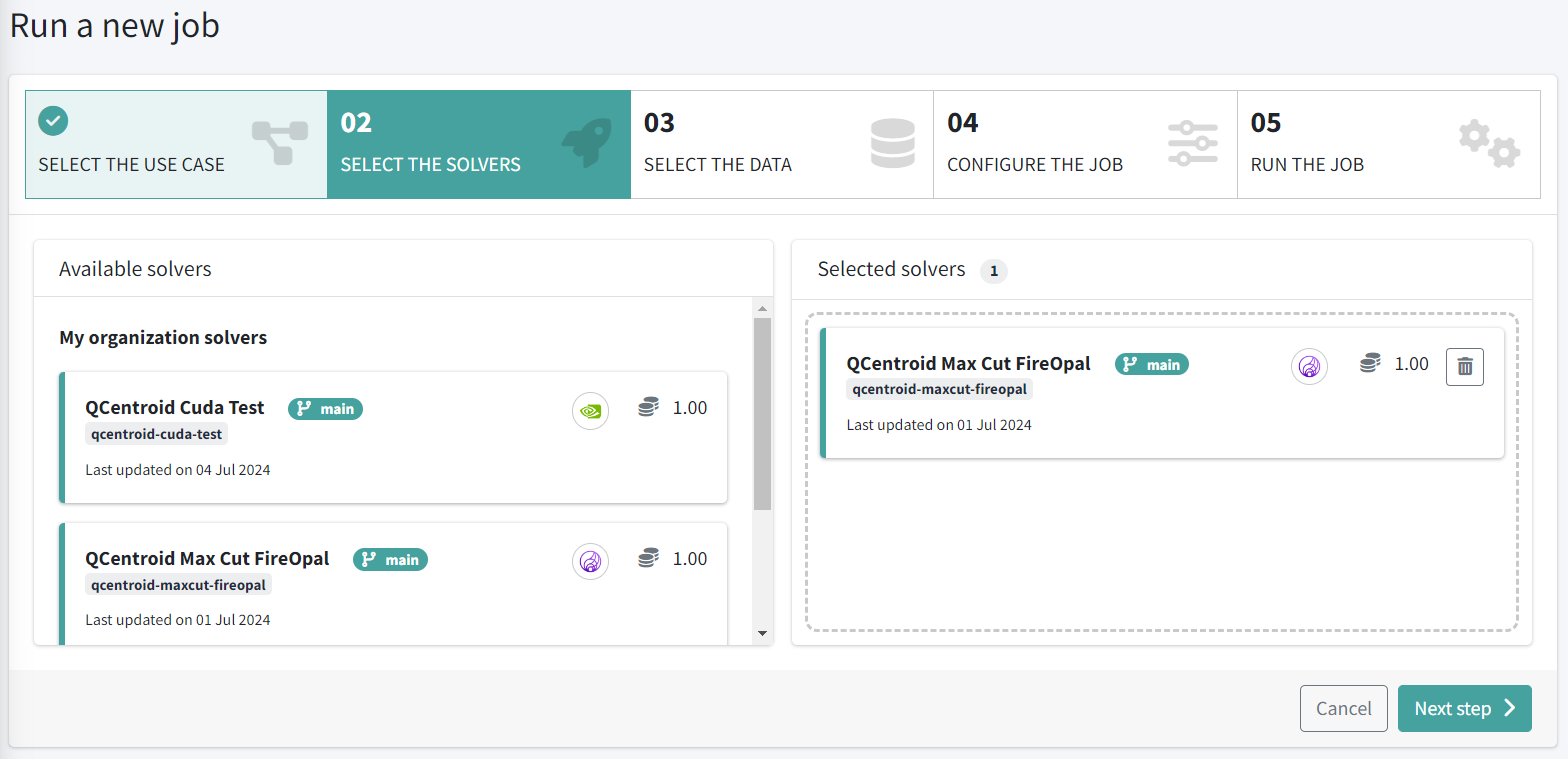
- Select the input data
- Configure Fire Opal parameters
- Click the Execute job button
Now you have a running job, just wait until the job finishes.
When the job is shown as Finished, you can see the solver results by clicking on the job.
- Check this page See the job results for more details.