Quantum Hello World! 🚀#
Welcome#
Welcome to your first steps with the QCentroid platform!
This tutorial will guide you through the process of exploring the interface and creating your first quantum use case, from defining a business challenge, to creating a dummy solver for it and running your first job.
Whether you’re new to quantum or just new to QCentroid, this hands-on walkthrough will help you get familiar with the platform’s core tools and workflows.
Let’s begin!
Create your first use case#
Let’s create an example use case to learn how to do it.
This process is divided into multiple steps, so you don’t need to have all the information at the very first moment.
You can always modify your use case to complete it with more information as you have it.
These are the steps to add and complete the information of a use case:
- Create the use case
- Add the business information
- Add the scientific approach
- Add the technical details
1. Create the use case#
Let’s create an example use case to learn how to do it:
-
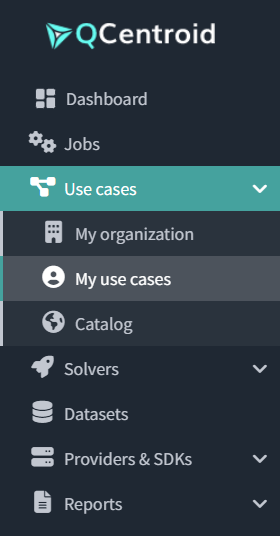
Navigate to Use cases > My use cases from the left-side menu.
-
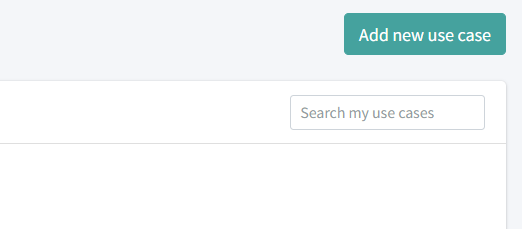
Then, in the top-right corner, click Add new use case.
-
You will get a form to fill the basic information about your use case:
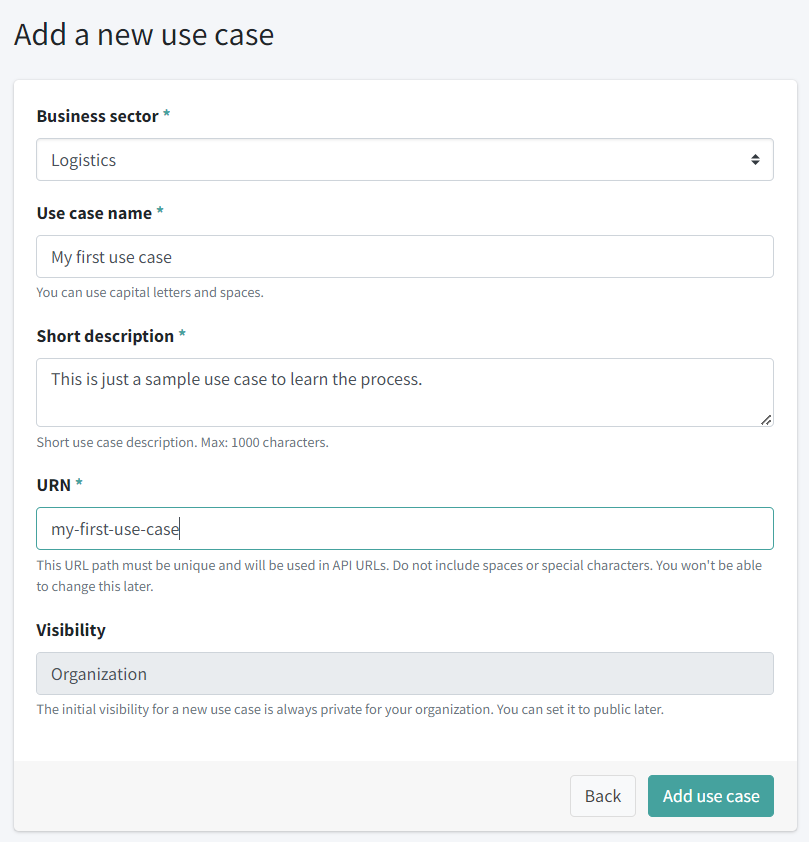
Fill in all the required information:
- Business sector: select any sector, Academic for example.
- Name: Let’s write “My first use case” here.
- Description: Write a short descriptive text: “Hello world use case used for learning purposes.”
- URN: This is a unique URL path to access your use case through the API. Write something like “my-first-use-case”. Don’t use spaces or special characters that shouldn’t be present in URLs, such as these ones: “/”, “&”, “%”, “=”
- Visibility: is always private to your organization by default.
-
Finally, click the Add use case button.
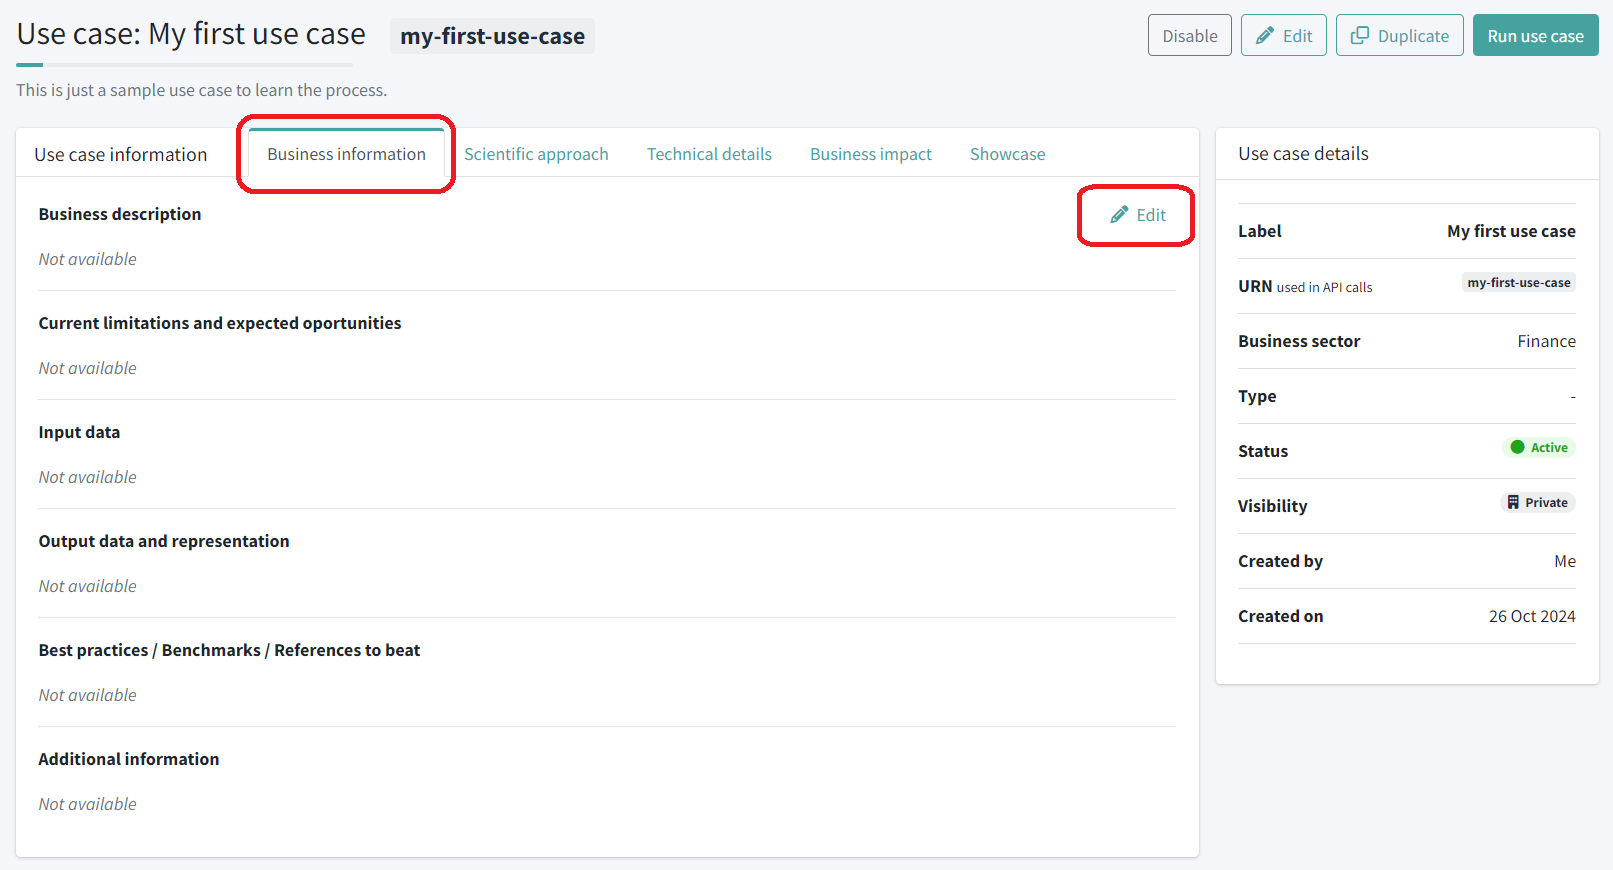
After this step, you will be redirected to your use case details page, where you can add additional information.
2. Add the business information#
With the use case created, you can now define the business context and all the information needed so that other users —and especially solver developers— can understand the problem.
The clearer and more complete this section is, the easier it will be for others to build effective solvers.
In your use case details page, click on the Business information tab and then on the Edit button on the top-right corner of the section.
A dialog window will appear:
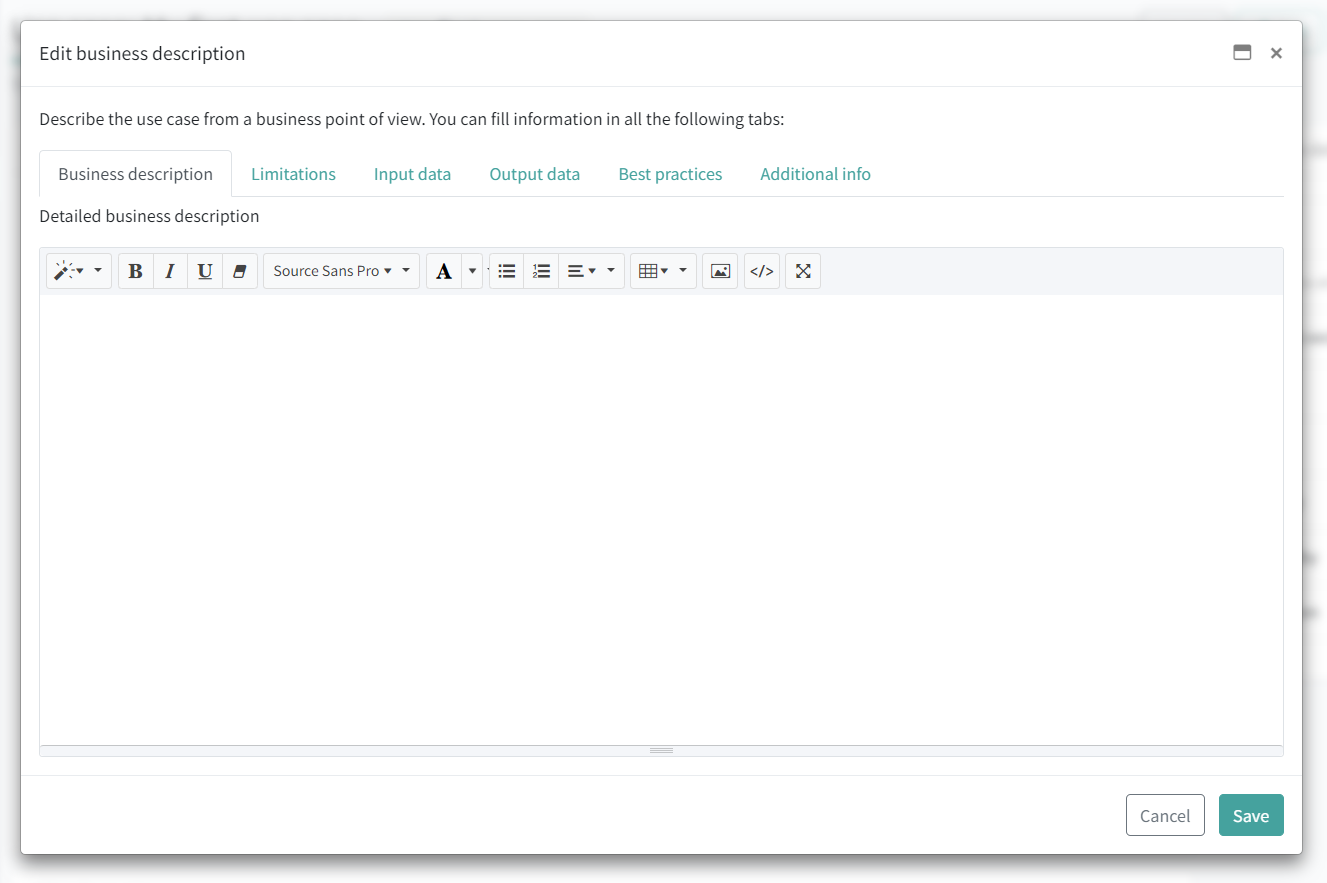
where you can fill the following six sections:
- Business description
- Current limitations and expected oportunities
- Input data description
- Output data description and representation
- Best practices / Benchmarks / References to beat
- Any other additional information
All these fields are allow you to write rich formatted text and also to paste images to better describe the use case.
You can fill some sample texts in them or leave them empty for now.
When you are done, click the Save button to save the content.
Info
You can edit these texts at anytime if needed.
3. Add the scientific approach#
For this introductory example, we will leave the scientific approach empty.
4. Add the technical details#
In this section you have to describe your use case from a technical point of view.
This section will be mainly visited by the solvers creators to check the specific input and ouput data formats that they must follow. These input and ouput data format use JSON standard.
Again, let’s leave this section empty for now. The default input/ouput format will be used.
What you’ve learned#
And you’re done! Now you know how to add a use case to QCentroid Platform.
You also know that creating a use case and completing all the information takes these steps:
Create the use case
Add the business information
Add the scientific approach
Add the technical details